
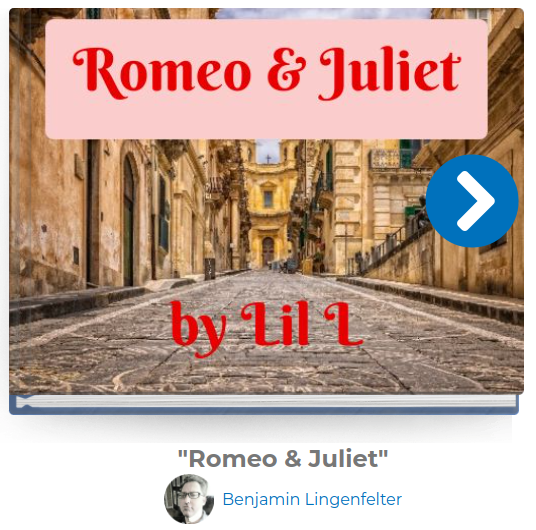
Other sites, like StoryJumper, provide users with pre-built characters and settings. All of them are drag-and-drop, so creating scenes in sequence is fairly straightforward. Take a look at one we’ve created:
Read this book made on StoryJumper
As you can see, creating the story with images is easy.
Downloading those images is not as simple as we’d hoped.
To get those scenes in a usable fashion, many of these sites want you to pay a subscription. Since this is a school project however, screenshots of your scenes will suffice. We use LightShot, a Google Add-On, to make it easy. We put all the images in one folder for easy access when we make the video.
In this video, we’ve demonstrated how to screenshot the scenes from StoryJumper so that you can use them in your project [1:40-2:30]:
Be sure when you take screenshots of the images in StoryJumper that you save the images in a filetype that works in ClipChamp. Common image filetypes work best: .JPG and .PNG images are the norm, and are usually the default for screenshot tools.