
OK. You’ve made your account in ClipChamp and you’re ready to create. What now?
You’ll see a screen that looks like this. The first thing you need to do is click “Create a Video” in the top right.

Next, you have to upload ALL THE FILES you’ve created so far:
- The audio file (or video if you’re going to split it)
- The images from your storyboard
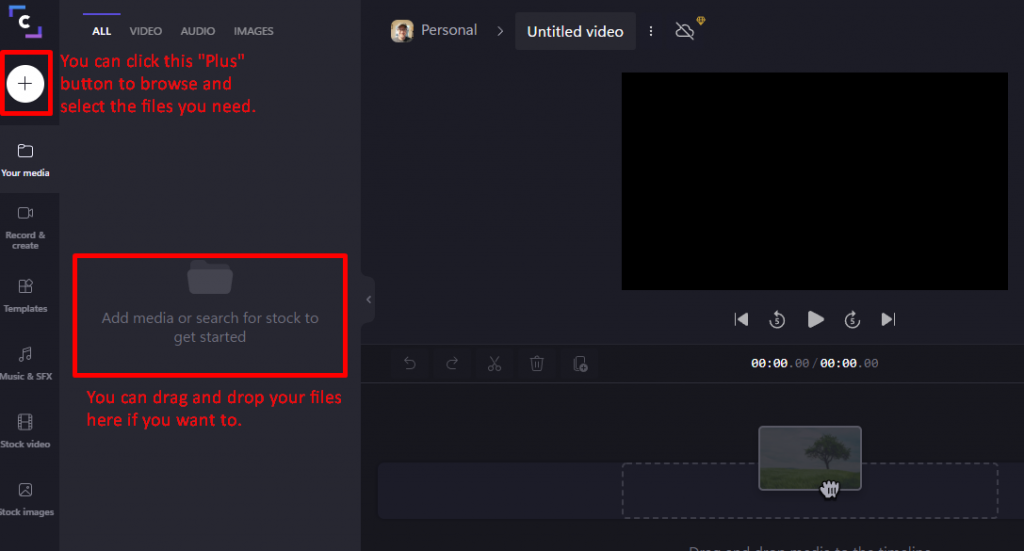
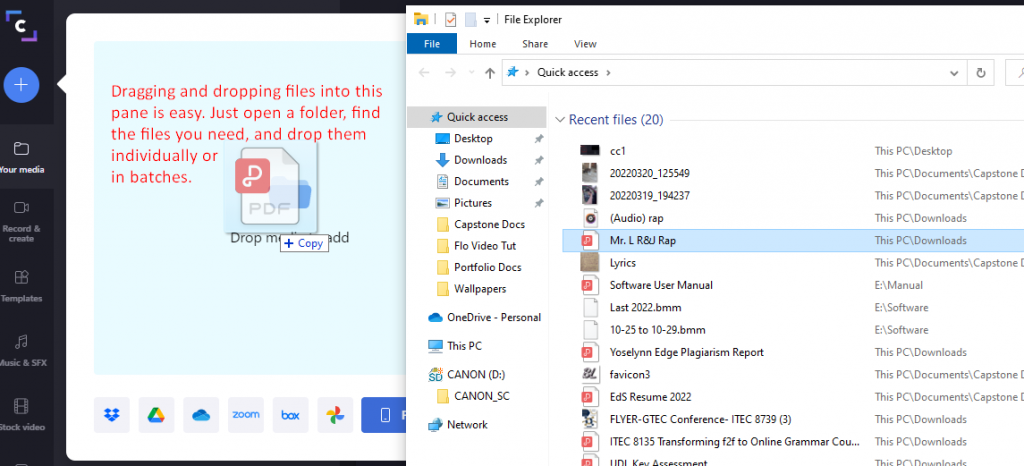
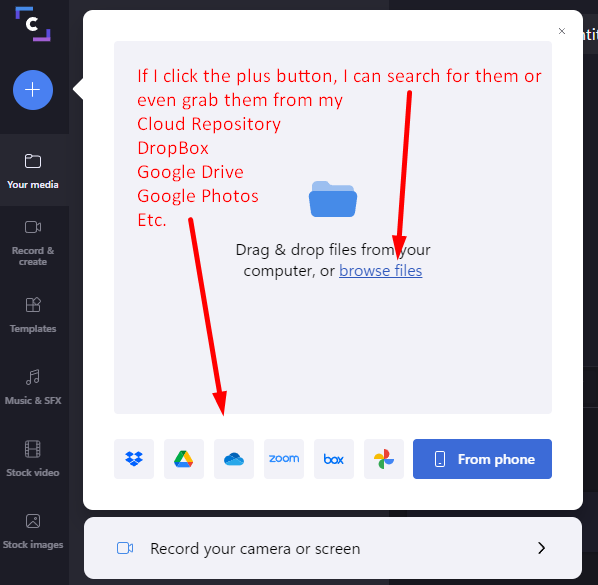
You do this by either 1) dragging and dropping the files into the “media” pane, or 2) clicking the “+” button in the top right and selecting them for upload.
That’s it! You can always add more files later, but it’s easiest if you get everything you need into the “Your Media” box at the beginning.
Stop and do this before moving on to the next step.